Installing a sink strainer might seem like a tricky task, but with the right tools and a bit of know-how, it can be a straightforward and satisfying DIY project. Why should you consider installing a sink strainer? Well, a sink strainer serves an essential function in your kitchen. It traps food debris while allowing water to pass through, preventing your pipes from clogging. Plus, a shiny new sink strainer can spruce up your kitchen sink’s appearance.
Tools & Materials Required For Installation
Before we start, it’s important to gather all the necessary tools and materials. This ensures a smooth installation process. Here’s what you’ll need:
- A new sink strainer kit: This is the star of the show. Sink strainer kits come with all the necessary parts, including the strainer body, the locknut, and sometimes, a tailpiece for connection to the drainpipe.
- Plumber’s putty: This is used to create a watertight seal between the sink and the strainer body. Note: some kits may come with a rubber gasket, eliminating the need for plumber’s putty.
- Pipe wrench or adjustable pliers: You’ll need this to tighten the locknut that secures the strainer body to the sink. Some people prefer to use Channellock pliers due to their wide jaw capacity and overall versatility.
- Paper towel or rag: This is for cleaning up any old residue and wiping away excess putty during installation.
The Components Of A Sink Strainer
Now that we have our tools and materials ready, let’s take a moment to understand the different parts of a sink strainer and their roles:
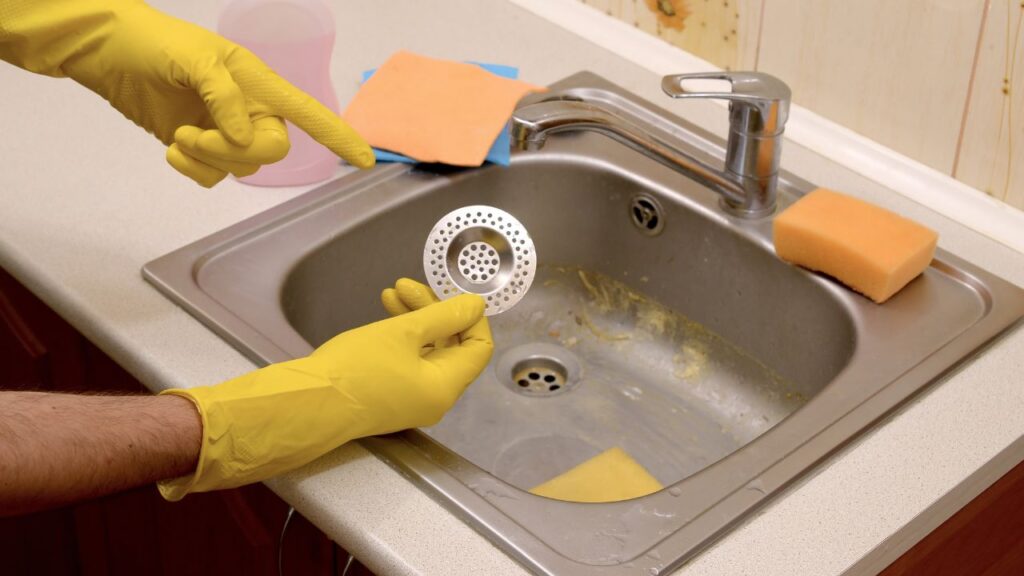
- Basket: This is the part you see from the top of the sink. It’s designed to catch debris while letting water flow through.
- Strainer Body: This part creates a flange or seal against the sink. It’s also where the basket sits.
- Rubber Gasket: It sits underneath the sink and helps prevent water leaks by sealing the connection between the strainer body and the sink.
- Paper Washer: This part goes between the rubber gasket and the locknut. It helps prevent deformation of the rubber gasket during tightening.
- Metal or Plastic Ring: This may be included in some kits. It adds friction against the locknut to help secure the assembly.
- Locknut: This part is what secures the whole assembly to the sink. It’s tightened onto the bottom of the strainer body.
- Tailpiece: This is a pipe that extends down from the strainer body. It’s where the sink’s drainpipe connects to carry water away.
Understanding these components and their functions will make the installation process much easier. Remember, it’s always a good idea to consult the instructions provided with your specific sink strainer kit, as there may be specific requirements or steps that differ from the general process outlined here.
Removing The Old Sink Strainer
Before we install the new sink strainer, we need to remove the old one. This process is relatively straightforward but requires a bit of elbow grease. Start by unscrewing the large locknut located underneath the sink that holds the old strainer in place. You might need to use your pipe wrench or adjustable pliers for this task. Once the locknut is off, you can remove the old strainer from the top of the sink. Be prepared for a bit of resistance, especially if the strainer has been in place for a long time.
Now, you’ll likely notice some old plumber’s putty around the sink’s drain opening. This needs to be removed to ensure a clean surface for the new installation. Use your paper towel or rag to wipe away the old putty and any other residue. Cleaning the drain opening properly is crucial to ensure a tight seal with the new strainer.
Preparing The Sink & Plumber’s Putty
With the old strainer out of the way and the drain opening clean, it’s time to prepare the sink and the plumber’s putty. Plumber’s putty is a pliable substance used to create watertight seals in plumbing installations. For our sink strainer installation, we’ll need to shape the putty into a rope, approximately half an inch thick.
Take a small amount of putty and start rolling it in your hands. Once it’s in the right shape, place it around the edge of the sink’s drain opening. The putty should cover the entire edge, forming a circle that matches the size of the drain.
Installing The New Strainer Body
With the putty in place, it’s time to install the new strainer body. The strainer body is the part of the assembly that will sit inside the drain opening of your sink. Its top edge, also known as the flange, will press against the plumber’s putty, creating a watertight seal.
To install the strainer body, simply position it inside the drain opening and press it firmly against the putty. As you do this, some of the putty will likely squeeze out from under the flange. Don’t worry about this just yet—we’ll remove the excess later.
An important thing to remember during this step is that the strainer body needs to be level. If it’s not, you might end up with a poor seal and potential leaks. So, take a moment to check that the strainer body is sitting straight in the drain opening before moving on to the next step.
Now that we’ve successfully removed the old strainer, prepared the sink and plumber’s putty, and installed the new strainer body, we’re halfway through our sink strainer installation. Stay tuned as we’ll cover the remaining steps in the next part of this article, which includes assembling and securing the strainer underneath the sink, connecting the tailpiece, and conducting a final check for leaks.
Assembling & Securing The Strainer Underneath
Now that the new strainer body is in place, it’s time to secure it from underneath the sink. This is where those other parts in your sink strainer kit come into play. Begin by sliding the rubber gasket onto the threaded shank of the strainer body. The gasket’s role is to prevent water leaks by creating a seal between the strainer body and the sink.
Next, place the paper washer onto the shank. This seemingly insignificant piece plays an important role in preventing the rubber gasket from deforming during tightening. If your kit includes a metal or plastic friction ring, you can slide it on next. It enhances the friction against the locknut, helping secure the whole assembly.
The last piece to add is the locknut. Thread it onto the shank and tighten it by hand initially. Then, use your pipe wrench or pliers to finish the job. The locknut’s tightening is what secures the entire assembly to the sink. While doing so, ensure the strainer body doesn’t rotate in the sink. If needed, have someone hold it from above or use pliers with a cloth to avoid scratching it.
Connecting The Tailpiece & Ensuring A Tight Seal
The next step in our sink strainer installation is connecting the tailpiece. The tailpiece is a pipe that extends down from the strainer body, providing a connection point for the sink’s drainpipe. Install the tailpiece by connecting it to the bottom of the strainer using the appropriate gasket and fitting.
Once your tailpiece is connected, it’s crucial to tighten it securely to ensure a leak-free installation. Remember, leaks can lead to water damage over time, so it’s worth taking an extra moment to double-check this step.
Final Checks & Testing For Leaks
With everything assembled and secured, you’re nearly done with your sink strainer installation. The last step is to run a final check for any leaks. Start by removing any excess plumber’s putty that squeezed out during the installation. A simple wipe with a rag or paper towel should do the trick.
Next, run water into the sink and observe the underside of the sink. Pay particular attention to the areas around the strainer body and the tailpiece connection. If you notice any drips or signs of water, you may need to tighten your connections a bit more. It’s not uncommon to have to make a few adjustments during this final step, so don’t get discouraged if you need to do a little tweaking.
Once you’re confident that there are no leaks, congratulations! You’ve successfully installed a sink strainer. Stand back and admire your handiwork. You’ve tackled a common home plumbing project and saved yourself the cost of a professional plumber. This is the DIY spirit in action!
Conclusion
Installing a sink strainer is a simple yet rewarding task that adds functionality to your kitchen and prevents potential plumbing issues. But remember, even the best installations can benefit from regular maintenance. Check your sink strainer periodically for leaks or loose parts, and don’t hesitate to address any issues as they arise. Doing so will ensure your sink stays in top shape for years to come.
Remember, the key to any successful DIY project is patience, the right tools, and a thorough understanding of the task at hand. With these, there’s no home improvement project you can’t tackle.