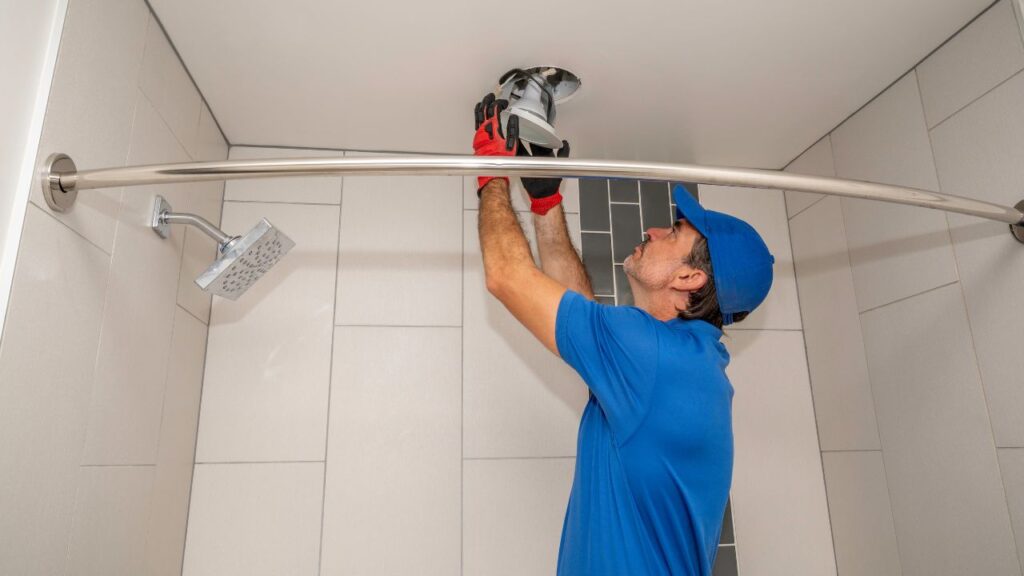
Light fixtures are crucial in our bathrooms. They provide illumination, set the mood, and enhance the overall aesthetic. Installing a bathroom light fixture might seem like a daunting task, but with the right approach and guidance, it can be a DIY project. This article will guide you through the process, making it easy, safe, and efficient.
Safety Precautions Before Installation
Before we begin, let’s emphasize the need for safety. Working with electrical fixtures can pose serious risks if not done correctly. The first thing you need to do before starting any electrical work is to turn off the power at the circuit breaker. This prevents accidental shocks and protects you as you work.
It’s also a good idea to use a voltage tester to double-check that the power is off. This device is simple to use and can confirm that there’s no electricity flowing to your light fixture, adding an extra layer of safety.
Tools & Materials Needed For The Job
To install a bathroom light fixture, you’ll need a few essential tools and materials. These include a screwdriver, wire nuts, and a voltage tester. The screwdriver will be used for removing the old fixture and attaching the new one. Wire nuts are crucial for safely connecting the wires of your new fixture to the existing wiring in your bathroom.
The new light fixture itself will typically come with a mounting bracket, screws, and possibly some wire nuts. But it’s always good to have extras on hand. Also, if your new fixture includes glass shades or bulbs, you’ll need to install these too. Lastly, you may need some electrical tape for extra security when connecting the wires.
All these tools and materials can be purchased at a local hardware store. Make sure you’ve gathered everything before you start the installation process, as this will save you time and prevent unnecessary interruptions.
Getting Started
Now that you’re prepared, it’s time to get started! The first step is to remove the old fixture. First, remove any bulbs and glass shades from it (make sure the bulbs have cooled first). Then, unscrew and remove the fixture’s cover to expose the wiring. Remember to keep this area as clean and clear as possible to avoid any potential hazards or complications.
Next, you’ll need to detach the existing fixture from the wall and disconnect the wires by removing the wire nuts. Be careful during this process as the wires are delicate and can be easily damaged.
With the old fixture removed, you’re now ready to prepare the new one. Secure the new mounting bracket to the electrical box in the wall using the provided screws. Make sure it’s level for a straight installation. Then feed the wires from the wall through the mounting bracket.
These steps may seem simple, but they are critical in ensuring a smooth installation process. By following them carefully, you’ll be setting yourself up for success. In the next sections, we’ll dive deeper into the process, covering how to connect the wiring and secure your new fixture. So, stay tuned!
Removing The Old Bathroom Light Fixture
Before we can install the shiny new fixture, we need to remove the old one. Start by removing any bulbs and glass shades. Be patient and allow the bulbs to cool before you touch them. Next, you’ll want to unscrew and remove the fixture’s cover to expose the wiring.
With the cover out of the way, you’ll see a tangle of wires. Don’t worry, we’ll guide you through this. But first, let’s ensure the power is off. Use a voltage tester for this. Once you’re sure, proceed to detach the existing fixture from the wall. Disconnect the wires by removing the wire nuts. Be gentle during this process as the wires can be fragile.
Preparing The New Light Fixture For Installation
Now that we’ve cleared the space, let’s prepare the new fixture. Start by securing the new mounting bracket to the electrical box in the wall using the provided screws. This needs to be level for the fixture to hang straight. After the bracket is secure, feed the wires from the wall through the mounting bracket.
At this point, you might be feeling a sense of accomplishment. And you should! But we’re not done yet. We still need to connect the wiring and install the fixture. So, let’s keep going!
Connecting The Wiring: Step-by-Step Guide
Here’s where things might feel a bit technical, but we promise, it’s more straightforward than it sounds.
First, we’ll connect the ground wire. This is usually a bare copper or green wire. Loop it around the grounding screw and tighten it.
Next, we’ll connect the black (hot) wires. Twist them together and secure with a wire nut. Repeat the process with the white (neutral) wires. Twist them together and secure with another wire nut.
For an extra layer of safety, some people recommend wrapping the wire nuts with electrical tape. This isn’t always necessary, but it can give you peace of mind.
With the wiring connected, we’re ready to attach the new fixture. But that’s a step for the next section. For now, give yourself a pat on the back. You’re doing great, and we’re almost there!
Remember, this process might seem complicated if you’re new to it. But with a bit of patience and attention to detail, anyone can install a bathroom light fixture. So, don’t worry if you find yourself re-reading these steps a few times. It’s all part of the process. We’ll continue with the installation in the next section, so stay tuned.
Attaching & Securing The New Fixture
With the wiring connected, we’re now ready to attach the new fixture. This step might sound challenging, but don’t worry. With a little patience and the right direction, you’ll complete this task smoothly.
The first thing you need to do is carefully tuck the newly connected wires back into the electrical box. This step ensures that everything is neat and tidy behind your new fixture, minimizing the risk of damage later on.
Next, you’ll mount the fixture onto the bracket. This process involves aligning the screws of the fixture with the holes in the bracket until they protrude through the fixture front. It’s much like fitting a piece of a puzzle in the right place.
Once the fixture is in place, secure it with the provided nuts. As you tighten these nuts, ensure the fixture is level and snug against the wall. You wouldn’t want your new light fixture to be tilted or loose, would you?
And there you have it. You’ve successfully attached and secured your new light fixture. Great job so far! But we’re not quite done yet.
Final Setup: Installing Bulbs & Shades
Now that your fixture is firmly in place, it’s time to add the final touches. This includes attaching any glass shades and installing the bulbs.
Starting with the glass shades, attach them as required by your specific fixture. Each light fixture will have its own way of attaching these, so make sure to follow the manufacturer’s instructions.
Next, install the bulbs. Be careful here, as bulbs can be fragile. Screw them in gently until they are secure.
And there you have it. Your new light fixture is now fully assembled and ready to light up your bathroom!
Testing The Installation & Troubleshooting
With the bulbs and shades installed, you’re almost at the finish line. Now it’s time to test your work. Turn the power back on at the breaker and flip the light switch. If all goes well, you should see your bathroom beautifully illuminated by your newly installed fixture.
But what if things don’t go as planned? Don’t panic. Troubleshooting is a normal part of any DIY project. If the light doesn’t turn on, double-check your connections. Make sure that the black (hot) wires and white (neutral) wires are securely connected and that the wire nuts are tight. If the fixture is loose, ensure the nuts are tightened securely on the bracket
Remember, it’s okay if everything doesn’t go perfectly the first time, especially if you’re new to this. Be patient with yourself and take it one step at a time.
We’ll cover more on this, including some maintenance tips for your new bathroom light fixture, in the next section. So, keep going! You’re doing great.