Sliding doors add a touch of elegance and functionality to a home, seamlessly blending the indoors with the outdoors. However, like all mechanical devices, the locks on these doors can become faulty over time. When this happens, you don’t always need to run for professional help. With a basic understanding of the lock mechanisms, the common issues that arise, and the right tools, you can repair your sliding door lock yourself.
The Sliding Door Lock Mechanisms
To begin with, it’s crucial to grasp the basics of sliding door lock mechanisms. The most common type found on sliding doors is the mortise lock. This style of lock is built directly into the door itself, providing a clean and sleek appearance. It operates using a latch and a deadbolt, offering an excellent level of security.
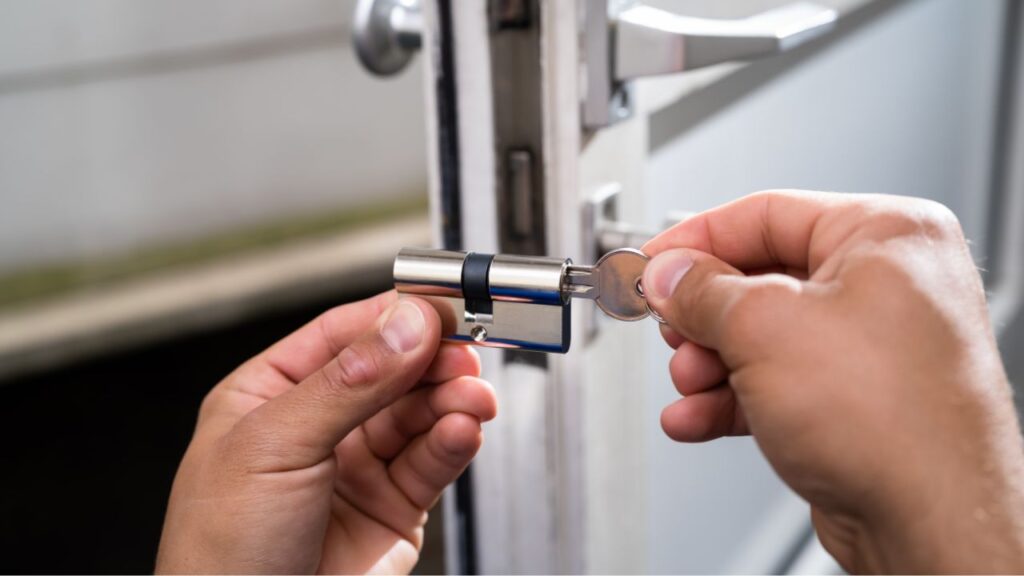
The mortise lock consists of several key components. The lock body, which houses all the internal parts, is the central element. Within this body, you’ll find the latch, which keeps the door closed, and the deadbolt, which provides additional security. The lock cylinder, where the key is inserted, controls the movement of the latch and deadbolt.
Understanding these fundamental elements will not only help you identify the problem when your lock fails but also guide you in repairing it effectively.
Common Issues With Sliding Door Locks
Several issues could cause your sliding door lock to fail. One common problem is a misalignment of the lock and the striker plate. This can occur due to normal wear and tear or if the door has been incorrectly installed. In such cases, you might find it difficult to lock or unlock the door, and forcing it could further damage the components.

Another frequent issue is the accumulation of dirt and grime, which can affect the smooth operation of the lock mechanism. Over time, dust, debris, and even rust can build up, causing the lock to stick or become difficult to turn.
Damage to the internal components of the lock, such as the latch or deadbolt, can also cause problems. These parts can wear out or break due to repeated use or forceful operation. When this happens, the lock may not function at all, and parts may need to be repaired or replaced.
Tools Required For Repairing Sliding Door Locks
Before you begin your repair work, you need to gather the right tools. Most sliding door lock repairs require only basic tools that you probably have lying around the house. These include a Phillips screwdriver to remove and replace the screws holding the lock and handle in place, a flat head screwdriver for prying parts if necessary, and a pair of pliers for handling small components.
In addition to these, a silicone-based lubricant will be helpful for cleaning and greasing the track and lock mechanism. Remember, an oil-based lubricant is not recommended as it can attract dust and cause more issues in the long run.
Finally, you may need replacement parts if any components of the lock are broken or worn out. These can usually be found at your local hardware store or online. Make sure to choose parts that are compatible with your specific lock model.
Armed with this understanding of sliding door lock mechanisms, knowledge of common issues, and the right tools, you are now ready to tackle your lock repair. Stay tuned for the next part of this guide, which will take you through the repair process step by step.
Step-by-Step Guide To Cleaning & Lubricating The Track
In the journey of repairing your sliding door lock, the first step involves cleaning the track and lubricating it. This is a crucial step as it ensures the smooth operation of your sliding door. If the track is filled with dirt or debris, it can interfere with the lock’s functionality.
Start by removing all the dirt and debris from the door track. This can be done using a vacuum cleaner or a brush. Ensure you reach into all the corners and crevices to remove every bit of dirt. This is important because the dirt that gets stuck can prevent the smooth operation of the sliding door lock.
After cleaning the track, it’s time to apply a silicone-based lubricant to the track and the lock mechanism. The lubricant is essential in reducing friction and allowing the door to slide smoothly. Take note that it’s not advisable to use WD-40 or any oily lubricants as they attract dust which can lead to further complications.
Once the lubricant is applied, slide the door back and forth several times. This helps in spreading the lubricant evenly across the track. Lastly, wipe away any excess lubricant to prevent a build-up of dirt.
Inspecting & Adjusting The Lock Alignment
The next crucial step in repairing your sliding door lock is to inspect and adjust the lock’s alignment. A misaligned lock can prevent the door from locking or unlocking smoothly, and it’s a common issue that needs to be addressed.
To do this, check if the lock aligns properly with the striker plate or catch on the door frame. If you notice any misalignment, you’ll need to adjust the door height or reposition the lock, if possible. Remember, forcing the lock could cause further damage, so it’s critical to make these adjustments carefully.
During this process, also look for any obvious damage to the lock or handle. Visible damage might be the root of the problem, and identifying it early can save you a lot of time and effort.
Removing & Examining The Lock For Damage
If your sliding door lock is still not functioning correctly after cleaning and adjusting, the next step is to remove and examine the lock. This step requires a bit of delicacy as you don’t want to cause any damage to the lock components.
Start by unscrewing and removing the screws that secure the door handle and lock. In most cases, you’ll need a Phillips screwdriver for this task. After you’ve removed the screws, gently slide out the latch lever and the lock mechanism.
Now, you can inspect the internal parts of the lock for any signs of damage or wear. Look for any broken or worn parts. If you identify any, you’ll need to decide whether they can be repaired or need to be replaced. This decision will largely depend on the extent of the damage and the specific part that’s affected.
In conclusion, repairing a sliding door lock involves several steps, each crucial in its own way. From cleaning and lubricating the track to inspecting and adjusting the lock and finally examining the lock for any damage. By following these steps, you’ll be well on your way to fixing your sliding door lock.
Repairing or Replacing Internal Lock Components
To continue with the repair process, it’s time to focus on the internal lock components. If you’ve identified any damage or wear during your inspection, this step is crucial. Remember, the aim here is to fix the issue without replacing the entire lock.
For common sliding door locks, the mortise lock, you’ll need to remove the lock body from the door’s pocket. This might seem complicated, but with a bit of patience and care, you can do it. Remember, the lock body is the central part housing all the internal components, such as the latch and deadbolt.
Once you’ve removed the lock body, it’s time to examine the internal parts. Look for any signs of damage. Clean the components thoroughly. If you spot any broken parts, you’ll need to decide whether they can be repaired or need to be replaced. This decision largely depends on the extent of the damage and the specific part that’s affected.
If you have a replacement lock or latch available, install it according to the manufacturer’s instructions. Pay close attention to the alignment of the hook and tab. Incorrect alignment can lead to future issues, so take your time and do it right.
Reassembling & Testing The Lock
With the damaged parts repaired or replaced, it’s time to put everything back together. Reinstall the lock and handle on the door. While doing so, ensure not to overtighten the screws, especially if the door is made of plastic or a similar material. Excessive force can result in additional damage.
Once you’ve reassembled the lock, it’s time to test it. This is an essential step to verify that your repair work has been successful. Slide the door back and forth and lock and unlock it multiple times. This will allow you to confirm that the lock operates smoothly and the door slides as it should.
If the lock is still not functioning correctly, you might need to make further adjustments. Don’t get disheartened. Sometimes, it takes a bit of trial and error to get things right.
Conclusion
Repairing a sliding door lock can be a satisfying DIY project. It not only saves you money but also gives you a sense of accomplishment. However, if the lock is severely damaged or if you’re unable to fix the problem despite your best efforts, it might be time to call in a professional locksmith.
Keep in mind that while DIY repairs can be cost-effective, they’re not always the best solution. If you’re dealing with a specialty lock or a complex issue, a professional locksmith can ensure the job is done right, saving you time and possibly further repair costs in the future.
In any case, whether you repair the lock yourself or hire a professional, maintaining your sliding door lock is crucial for the safety and functionality of your home. So, don’t neglect it. Regular checks and maintenance can prevent many common lock issues and ensure your sliding door operates smoothly for years to come.


