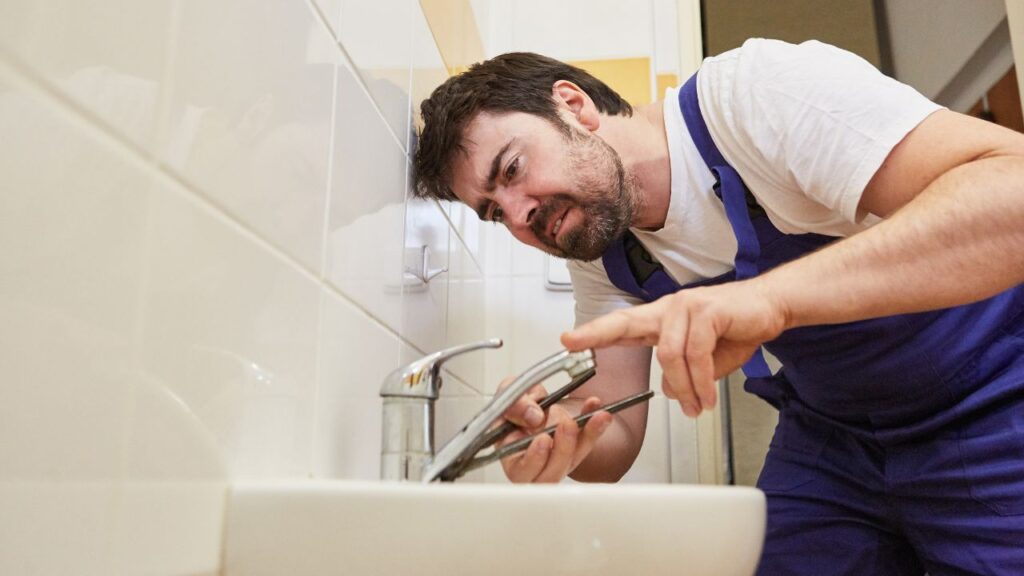
Installing a bathroom faucet might appear like a daunting task for the uninitiated. But fear not, because with the right tools and a bit of patience, you can upgrade your bathroom setup in no time. This step-by-step guide is designed to help even the most novice homeowners replace a bathroom faucet with ease. By following the instructions outlined in this article, you will be able to perform this task effectively and efficiently.
Tools & Materials Needed For Installation
Before you begin the process of installing a new bathroom faucet, it’s important to gather all the necessary tools and materials. Having everything on hand will save time and make the process easier. Here are the items you’ll need:
- Adjustable wrench or basin wrench: This tool is essential for loosening and tightening the nuts and bolts during the installation process.
- Plumbers tape (Teflon tape): Plumber’s tape is used to ensure a water-tight seal on threaded connections.
- Plumbers putty or silicone caulk: You’ll use this to seal the base of the new faucet and prevent water leakage.
- Screwdriver: A screwdriver will be useful for removing the old faucet and installing the new one.
- Bucket or towel: These will catch any water drips during the installation process.
- New faucet and (optional) matching drain assembly: Of course, you’ll need the new faucet you want to install. A matching drain assembly is optional but can give your bathroom a cohesive look.
Preparing Your Workspace
Once you have all your tools and materials ready, the next step is to prepare your workspace. A clean and organized workspace will make the installation process smoother and safer.

Start by clearing out the area under the sink. Remove any items stored there, such as cleaning supplies or toiletries, so you have easy access to the water supply lines and shutoff valves.
Next, clean the sink area thoroughly. A clean work area will allow you to spot any potential issues, such as leaks or rust, more easily. Plus, this ensures that your new faucet will be installed on a clean surface.
Lastly, place a bucket or towel under the sink. This will catch any water that might drip down when you disconnect the water supply lines.
Now that you know what tools you’ll need and how to prepare your workspace, you’re ready to move on to the next step in the process: turning off the water supply. In the next section, we will guide you through this process, along with the steps for removing the old faucet and preparing for the installation of the new one.
Turning Off The Water Supply
Before we dive into the process of replacing the old faucet, it’s important to ensure that your water supply is turned off. This step is crucial to prevent flooding and water damage. Locate the hot and cold water valves under the sink; they are typically small round or oval knobs. Turn these knobs clockwise until they can’t be turned any further to effectively shut off the water supply. It’s a good idea to try the faucet once the valves are off to confirm there’s no water flowing. This step also relieves any remaining pressure in the water lines, allowing for a smoother removal process.
Removing The Old Faucet
Now that the water supply is turned off, it’s time to get rid of the old faucet. Using your adjustable wrench or basin wrench, disconnect the supply lines from the shutoff valves and the faucet. These lines are usually found running from the shutoff valves to the base of the faucet. Once disconnected, you’ll find mounting nuts or screws beneath the sink that hold the faucet in place. Use your screwdriver to remove these. With the mounting nuts or screws removed, you’ll be able to lift out the old faucet with ease.
After the faucet is removed, take some time to clean the surface of the sink. Over time, gaskets, putty, or caulk may have accumulated around the base of the faucet, and this needs to be cleaned off before installing the new faucet. A clean surface ensures a better fit for the new faucet and reduces the chances of leaks.
Preparing & Installing The New Faucet
With the old faucet removed and the sink surface cleaned, it’s time to prepare the new faucet for installation. Most faucets come with a gasket that fits around the base. If yours didn’t, you can use plumbers putty to create a seal. Place the gasket or putty around the base of the new faucet, following the manufacturers instructions.
If your new faucet comes with a deck plate, also known as an escutcheon, install it now. The deck plate is a flat piece of metal that goes between the faucet and the sink. It helps prevent water from getting under the faucet and into the cabinet below.
Now you’re ready to install the new faucet. Insert the faucet’s supply lines and shank(s) through the holes in the sink. From underneath the sink, thread the mounting nuts or washers onto the shanks and tighten them using your wrench. While tightening, ensure the faucet is properly aligned with the sink. Once the faucet is aligned, give the mounting nuts or washers one last tighten, but be cautious not to overtighten as this can damage the faucet or sink.
By now, your new faucet is securely in place. Next, we will move onto connecting the water supply lines, installing the drain assembly, and testing for leaks. But remember, if at any point you feel uncomfortable or unsure about these steps, don’t hesitate to seek advice from a professional. After all, it’s better to ask for help than risk damaging your bathroom’s plumbing.
Connecting Water Supply Lines
Now that we’ve successfully installed the new faucet, it’s time to connect the water supply lines. This step is vital as it ensures that water can flow to your faucet. Start by attaching the supply lines to the corresponding shutoff valves. The traditional configuration has hot on the left and cold on the right.
As you attach these lines, consider using some plumbers tape on the threaded connections. This tape isn’t compulsory, but it’s an extra measure to ensure a better seal, preventing any potential leaks. Once you’ve attached the supply lines, tighten them using a wrench. However, it’s important to avoid overtightening as this may cause damage.
Installing The Drain Assembly
If your new faucet came with a matching drain assembly, this is the perfect time to install it. Begin by removing the old drain. Then, apply some plumbers putty or silicone under the new drain flange. This creates a seal and prevents any water from leaking.
Next, insert the drain body through the sink drain hole and tighten the nut from below. Make sure to follow the manufacturer’s instructions when connecting the pop-up drain assembly and linkage. They may vary between different models, and it’s crucial to get this step right for your drain to function properly.
Testing For Leaks & Final Adjustments
With everything installed, it’s time to turn the water back on and check your handiwork. Reopen the shutoff valves and carefully inspect all connections for leaks. Pay special attention to the area around the base of the faucet and the connections of the water supply lines.
Before you start using the faucet normally, there’s one last step to perform. Remove the faucet aerator and run the water for a minute or so. This flushes out any debris that might be in the lines, preventing them from clogging your faucet. Once you’ve done this, you can reinstall the aerator.
Final Thoughts
Pat yourself on the back because you’ve successfully installed your bathroom faucet! This task may seem complex at first, but with the right tools and a little patience, it’s something you can definitely accomplish. The key is to take each step slowly and carefully, making sure you understand what you’re doing before moving on to the next step.
Remember, if you feel unsure about any part of the process, it’s always a good idea to consult with a professional. They can provide advice and assistance, ensuring that your new faucet is installed correctly and works perfectly.


